
Process
The 360 video explores a variety of activities to do at Kangaroo Point to inspire ideas for those who are planning a trip to visit Brisbane City. We hope that our video can reduce the anxiety associated with traveling to a new place.
Planning
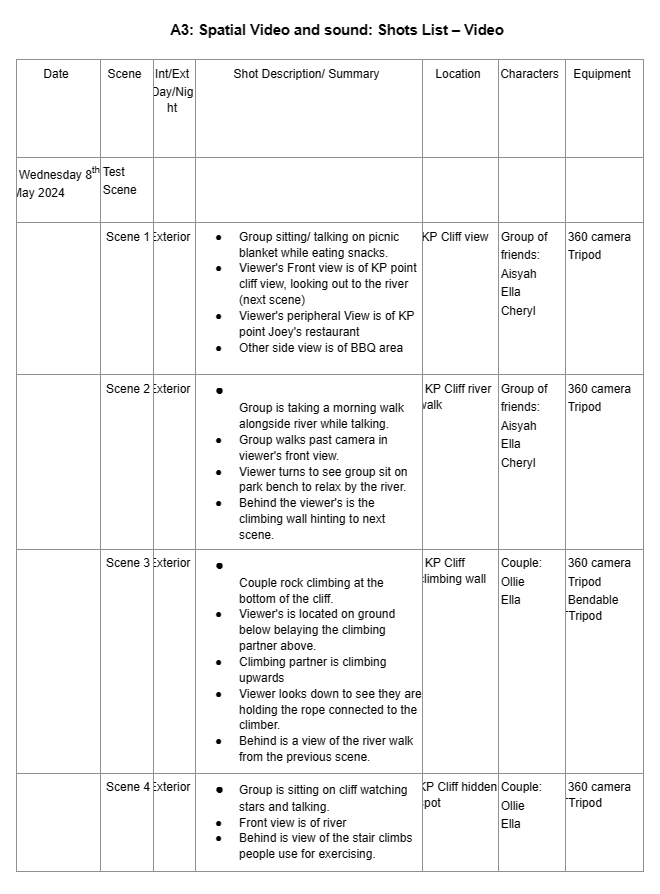
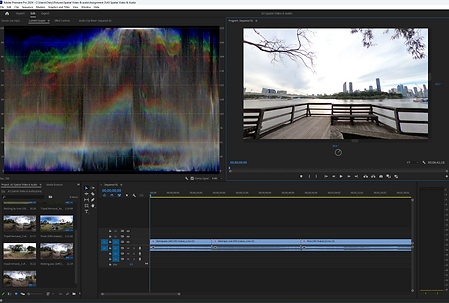
The image below is our group A3 spatial video and sound - shots list, including the dates, scene, shot description, location, characters (actors) and equipments.
Location
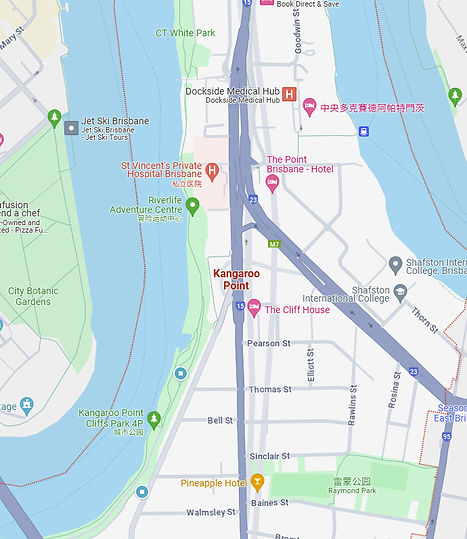

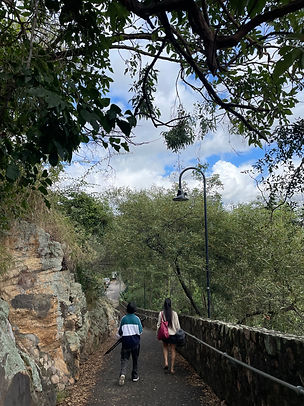
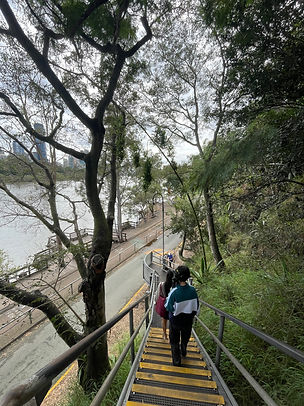
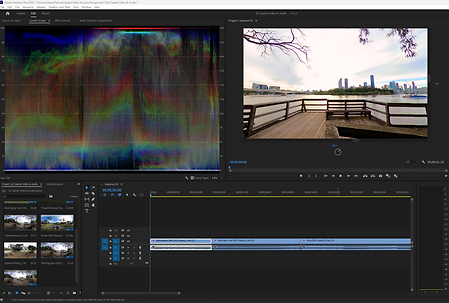
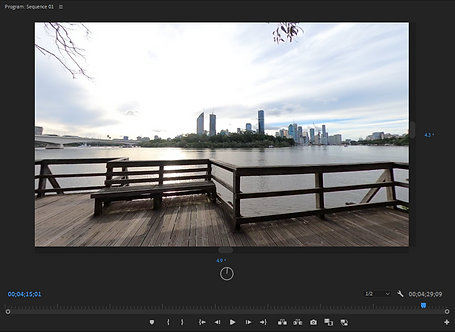
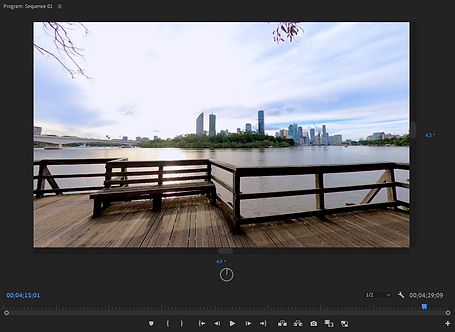
For this project, our group has decided to film at Kangaroo Point, alongside the river, as you can see in Image 2. Through 360-degree video and audio, we aim to provide a comprehensive virtual tour of Kangaroo Point. We offer recommendations on activities, attractions, and pricing. Our goal is to simplify trip planning and provide an engaging pre-travel experience, thereby reducing the stress and time-consuming nature of researching for upcoming travel plans.
River Walk

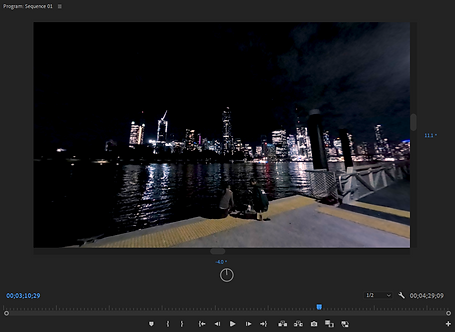
Star Gazing
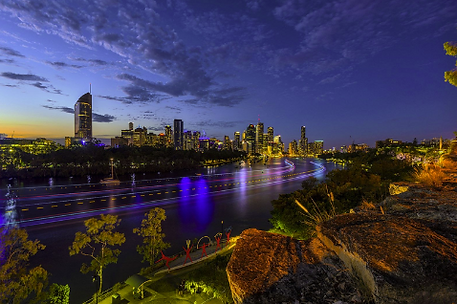
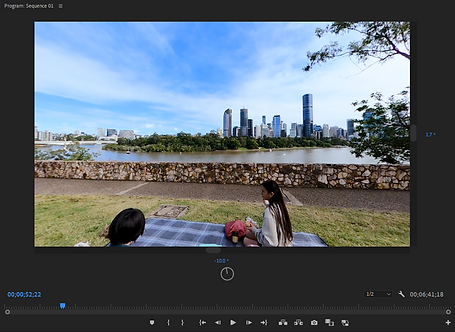
Picnic

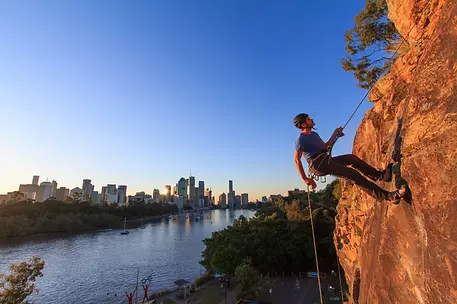
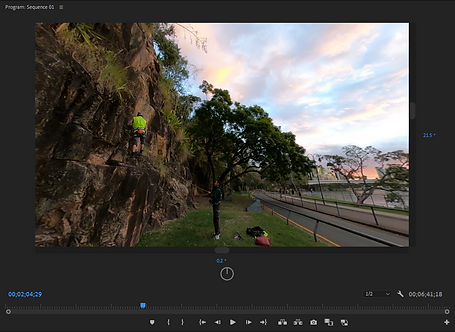
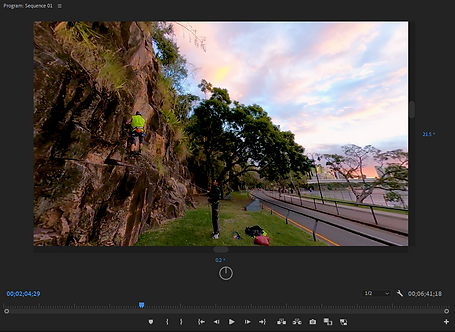
Rock Climbing
To cater to the preferences of individuals planning their trip, we aim to showcase various options including different activities (day and night activities), for examples, river walk, picnic, rock climbing and star gazing, our main focus for this project. Audience will be for traveler/ tourist planning a trip to Queensland Kangaroo Point or seeking an engaging and efficient trip planning experience with translation around 4 languages, for those who can't speak English.
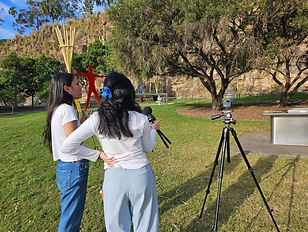
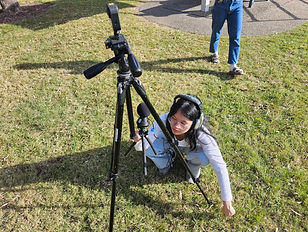
Film Production
.jpg)
.jpg)


.jpg)
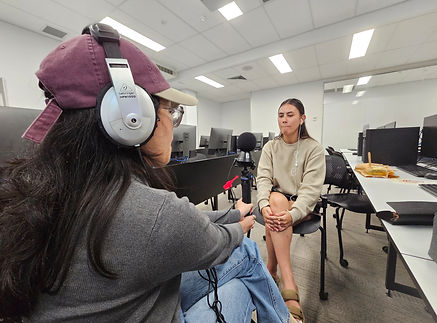
Kangaroo Point is quite the hotspot. During filming, we often encounter people walking past the camera and talking while we’re recording audio. However, given that we’re outdoors, this is inevitable. Perfecting a scene can take quite a while, sometimes requiring up to five attempts for a single take. Not only that, but the walking and stair climbing are probably the most exhausting parts of filming. To mitigate this, we sped up our filming process, which allowed us to finish most parts in just two days.
Post Production
Program - Adobe After Effects & Adobe Premiere Pro
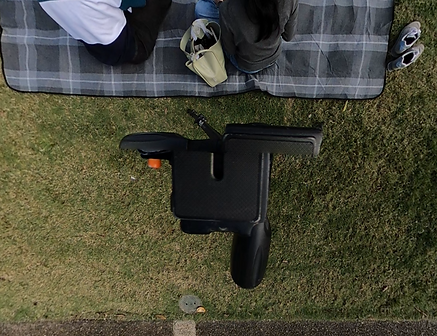
Original Image
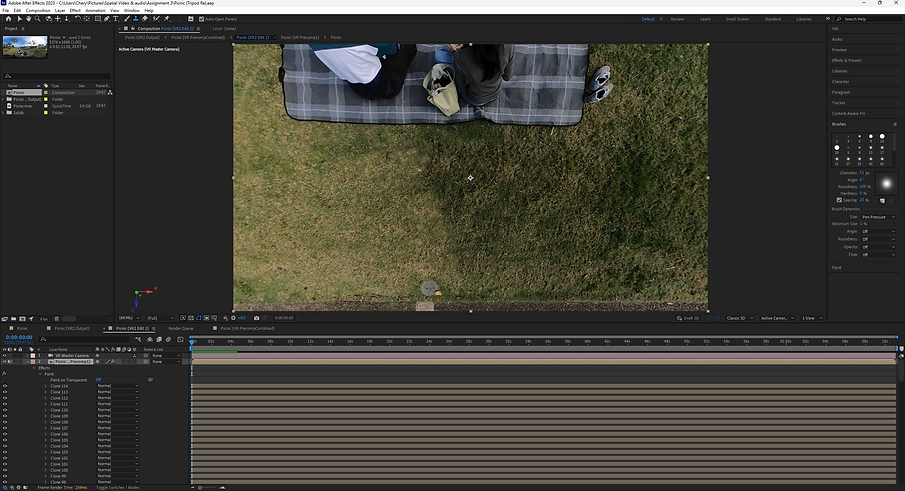
This is from the "picnic" scene, here I will be using After Effects to remove the tripod. Using the same technique from A1.
Below is three method I have used for this assignment: Content aware fill, clone stamp tool, photoshop
Content Aware Fill

Removing an unwanted object or area from a video can be a time-consuming and complex process. With the Content-Aware Fill feature, you can remove any objects, such as a tripod in the image. The “Fill Method” offers three types of fill to render: Object, Surface, and Edge Blend. In this case, I will only be using “Surface” because it replaces the surface of an object. It operates similarly to the Object method as it borrows pixels from surrounding frames, but it uses the motion estimated in the composition under the transparent area.
Clone Stamp Tool
With the Content aware fill, it was taking way too long to render. So, I came across the Clone stamp tool, the Clone Stamp tool samples the pixels from a source layer and applies the sampled pixel values to a target layer; the target layer can be the same layer or a different layer in the same composition. it is very similar to the content aware fill, but instead I will have to do it by hand.
Photoshop
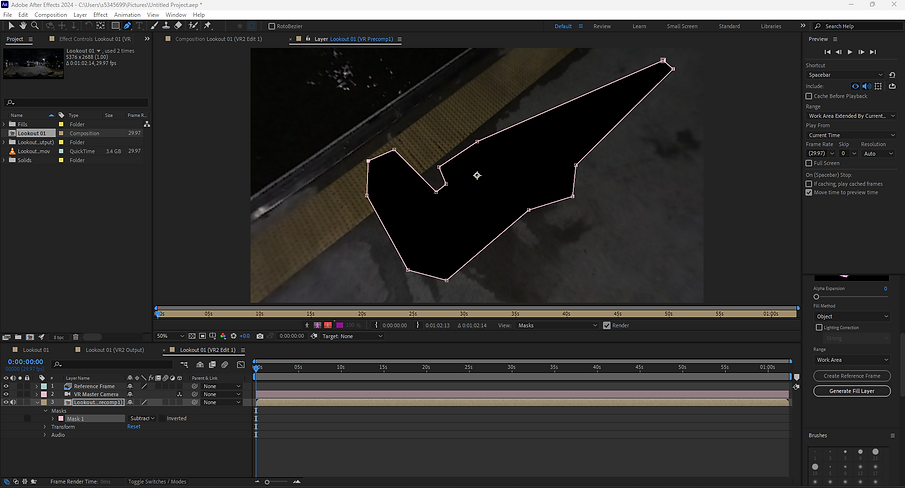

First, I use the Pen tool to trace out the 360 camera in Adobe After Effects and create a reference frame with Content-Aware. This action then takes me to Photoshop. Using the Magic Wand tool, I select the empty area. Then using the Photoshop’s AI to generate the selected area.
RESULT
The result was both amazing and shocking. It generated three variations, from which I could choose the best one.
Color correction & Creative
Walking on bridge [intro] scene, here I am playing around with the color correction & creative. Increasing the blue, and the overall color by changing the vibrance and saturation of the scene. (image below)
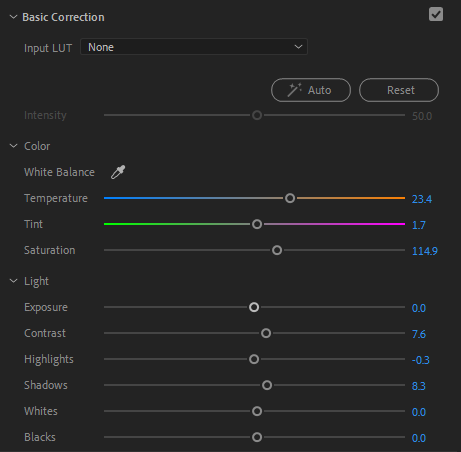
In the basic correction phase, I adjusted the temperature by an additional 23.4 units towards orange. This modification was intended to enhance the color opacity, bringing it closer to a vibrant shade of orange. As a result, the bridge, sun, and sky in the image above appear significantly more colorful.
BEFORE
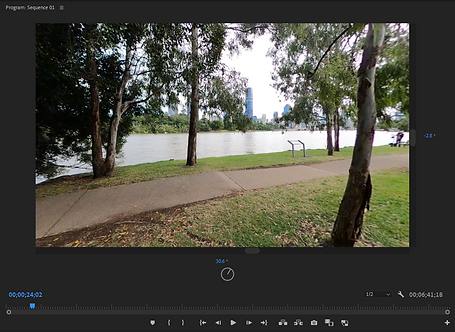


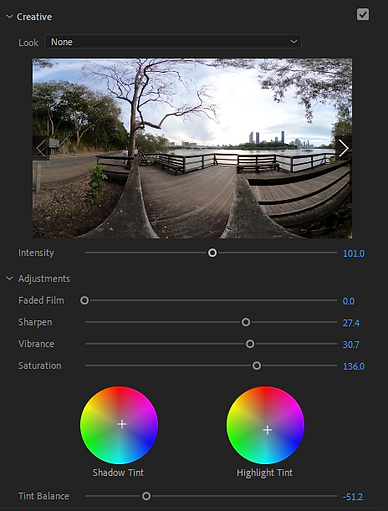
In the creative phase of my project, I made adjustments to the sharpness, vibrance, and saturation of the scene. However, the most crucial change was in the “Tint Balance”. With these “Tint” controls, I was able to set or correct the color casts in both the highlights and shadows. This allowed me to fine-tune the visual aesthetics of the scene, enhancing the overall impact of the imagery.
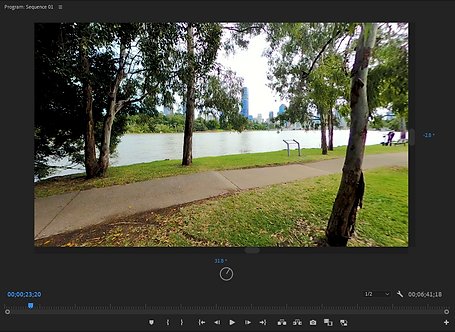
AFTER

Ambisonics

_jfif.jpg)
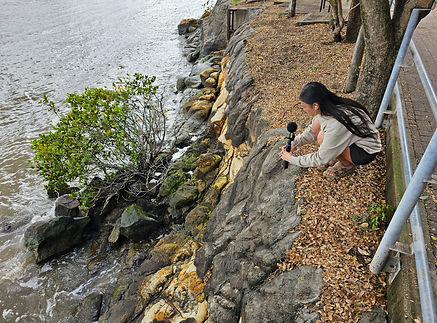
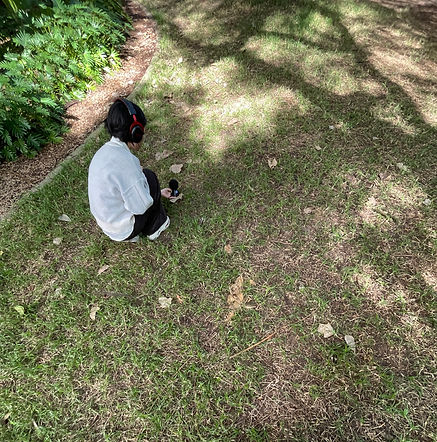
We did our recording both indoors and outdoors, most of them are recorded around the Griffith area. Audios like birds and water splash, we did it around kangaroo point.
Audio Recordings

In Adobe Premiere Pro, I discovered the utility of Sound Effects (SFX) and decided to experiment with it. To my surprise, I found it incredibly useful. The presets provided by SFX allowed me to manipulate my audio in various ways. I could create the illusion of sound originating from different directions - in a large room, or even alter the perceived distance, making it sound closer or further away.
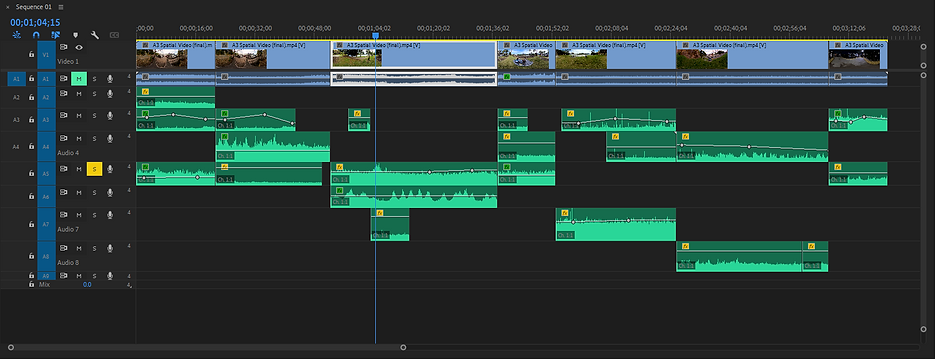
Final Sequence

.png)
This assignment is centered around the natural beauty of Queensland. Consequently, I didn’t need to extensively use the Audio Mixer Track in Premiere Pro. Instead, I primarily utilized tools such as the Pitch Shifter, Graphic Equalizer, and Panner. These tools allowed me to manipulate the audio to match the visual elements of the project. Additionally, I employed Volume Keyframes to gradually adjust the audio levels, creating the effect of sound receding into the distance. This technique added a layer of depth and realism to the soundscape, enhancing the overall sensory experience of the viewer.
Text

Finally, I began working on the text in Adobe After Effects. I utilized the 3D mechanism within the program to adjust the text’s position, ensuring it fit perfectly within the scene. The next step involved selecting a font that would complement the overall aesthetic of the scene. I wanted the text to be white, which posed a challenge as it closely resembled the background colours. To overcome this issue and ensure the text was clearly visible against the background, I added a shadow to the text using the layer styles feature.

Next, I incorporated animation using the presets available in After Effects. One of my personal favourites is the “Fade Up Characters” preset. This particular preset provides a cool transition effect, gradually revealing the characters in a text layer. It adds a dynamic element to the text, making it more engaging and visually appealing.

Initially, my plan was to incorporate a speech bubble, as shown in the video below. However, I encountered some issues during the export process, unfortunately. As a result, I decided to opt for a simpler approach by placing white text below the eye level view. This strategy ensures that the text doesn’t obstruct the beautiful scenery in the video. The target audience for this project is primarily tourists. Therefore, I chose to use the top three most widely spoken languages globally - English, Chinese, and Japanese - to cater to a broad range of viewers. This decision was made to ensure that the content is accessible and understandable to as many tourists as possible.
Process & issues (Video)
Here is my process of using After Effects clone stamp tool to remove the tripod. Which is the most effective tool for this project.
I imported After Effects file using the photoshop method to remove the tripod. But it only worked for a millisecond of the footage. This is the first error I have occurred
This is part of my ambisonics process, where I will be adjusting volume, pan, distance of the audio.
I was struggling with the text animation in After Effects, but then I figured out how to fix it.
This video shows my process of adding text, different angles for different scene.
This was the original speech bubble translation I was going for, but there was some issue when exporting.